
I hate hinges. No matter how accurately I measure, the hinges never seem to attach the door exactly where I want it.
In the past, I've always been too scared to use fully concealed hinges because it takes too much work to cut out the ridiculous slots required to embed the hinge in. However, I managed to find a self-closing, half overlay, Euro hinge for faceframeless cabinets that did not require any fancy slot cutting. I used the instructions that came with the hinge and took my time with the measurements. The best part about most of these Euro hinges is they have a mixture of oval and round screw holes. If you start by screwing in the oval holes, you can hold it together well enough to make minor adjustments. I borrowed from my dad's nickel trick to space the gaps around the door and in the end...I got lucky. The damn thing fits perfectly when closed!
I had planned on removing the hinges prior to priming and painting but forget it. I don’t want to touch these babies. Better to spend an hour taping the hinge or painting around it than to risk stripping the screw holes or messing with the alignment.
After attaching the door, I patched a couple cracks with wood putty and sanded most of the cabinet.
At one point in my brother’s furniture building career, he refused to use sandpaper because he believed even the finest grit could not compete with his perfectly tuned scrapers and blades. This blew my mind. I love sandpaper! I love running my finger across wood freshly sanded with 220 grit. Nothing beats it.
Sunday, July 09, 2006
The Dreaded Hinges
Wednesday, July 05, 2006
Attaching the Legs
The first major disappointment on the project came after I attached the legs.
Attaching them was simple. I had planned the carcase with the legs in mind. My main goal was to be able to put this cabinet in my bathroom corner as close to the wall as possible. Therefore, I wanted the footprint of the legs to be smaller than that of the carcase (to handle the bathroom's base molding). The legs attached nicely with pocket hole screws and glue.
Before stepping back to take a good look, I called Melissa out to observe this milestone. Her reaction was basically, "Why did you attach the legs upside down?". As soon as she said it, I knew she was right. My decision to borrow stylistic ideas, from the cabinet legs my brother, Brek builds, was a poor one. Obviously, I don't get it.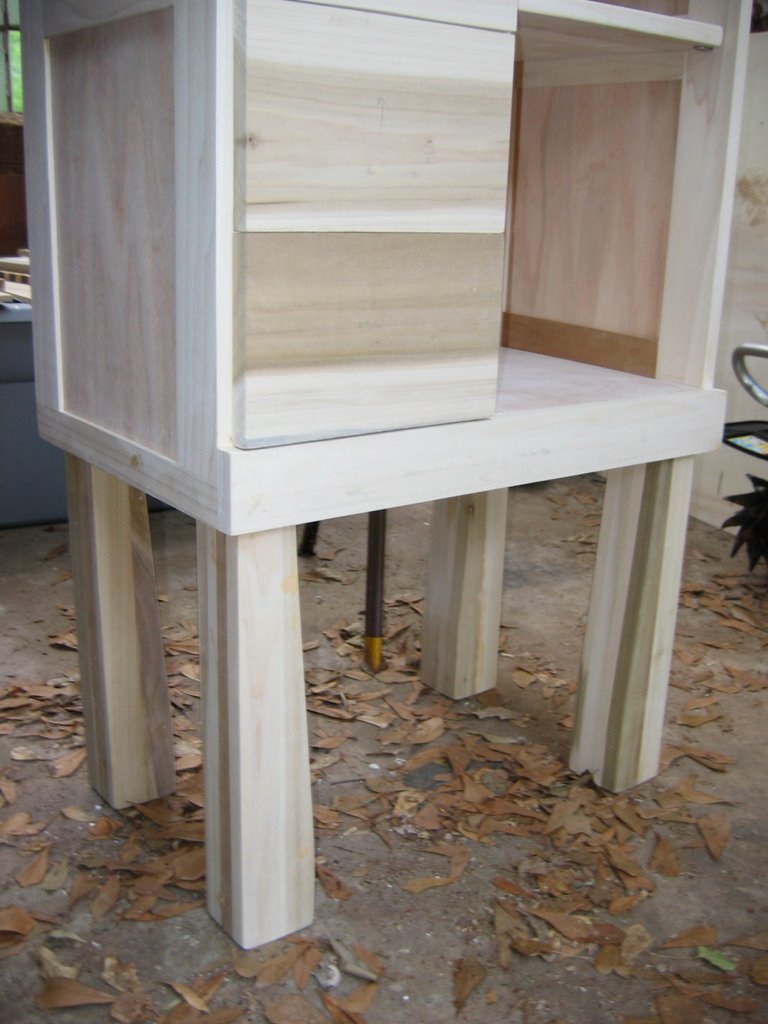
Oh well. We decided too wait until it's painted before chopping off the legs. Who knows, maybe it will grow on us.
The Cabinet Door
On our honey moon, Melissa and I visited my friend Adrian, in Rome, Italy. The door to his bathroom had a textured glass window. You could see through...but not really. Ever since then, Melissa has noticed interesting glass windows. She suggested adding such a window to this bathroom cabinet. After visiting a local art glass outlet store (http://www.armstrongglass.com/), we found a piece of white and yellow glass we figured would match our bathroom and still be neutral enough to match other rooms (hopefully the cabinet survives long enough to see our next home).
I built a frame around the glass panel and finally finished the cabinet door.
I'm scared about the hinges. But I'll worry about that next week.
Tuesday, July 04, 2006
Adding the Shelf
A shelf is an opportunity to use up scraps. Since I had just enough 1 X 3 left, I decided to join five pieces (and one piece of 1 X 2) to make my shelf for the cabinet side.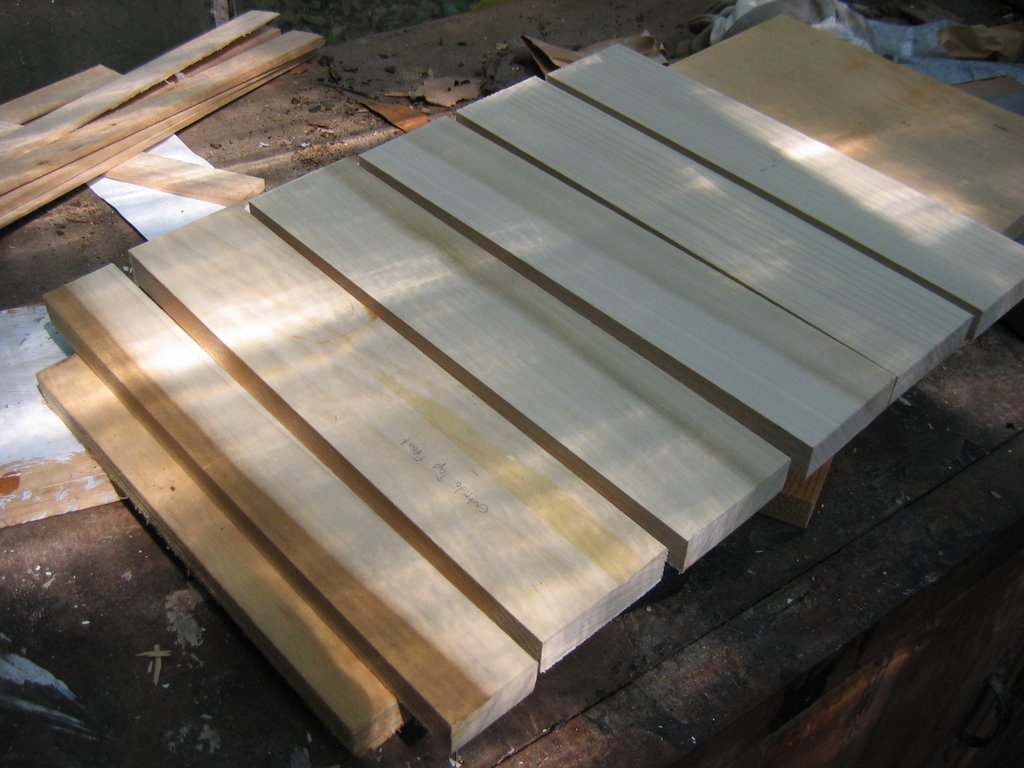
Since I don't have a biscuit joiner, I used my trusty pocket hole jig to join the pieces (and some glue, of course). I mounted the shelf with some simple shelf pins I took from a shelf we weren't using. Easy.

